
A drip from a gutter seam may look minor from the ground, but it can leave a stained fascia board, erode landscaping, or send water toward the foundation. Knowing how to seal gutter seams correctly helps stop that damage before a small leak becomes a larger repair – especially after Utah’s snow, ice, wind, and summer storms have worked on the gutter system.
A lasting repair is not just a matter of squeezing sealant over a wet, dirty joint. The seam has to be clean, dry, secure, and sealed with a product made for exterior metal and changing temperatures. If the gutter has begun pulling apart or sagging, sealing alone may not solve the problem.
Find the Leak Before You Seal It
Gutter seams commonly leak at inside and outside corners, end caps, outlet connections, and joints where two gutter sections overlap. Water may travel along the underside of the gutter before it drips, so the visible drip point is not always the source.
Choose a dry day and inspect the gutters from the ground first. Look for dark streaks, rust, peeling paint, green staining, or soft wood around the fascia. Then, if it is safe to do so, use a garden hose to run a controlled stream of water into one section at a time. Start away from the suspected seam and work toward it. This makes it easier to see exactly where water escapes.
A gutter that overflows during the hose test may be clogged rather than leaking at a seam. Clear leaves, roof grit, and packed debris before deciding a seam needs repair. Water that cannot reach the downspout will find its own path over the gutter edge, making a sound gutter look faulty.
What You Need for a Gutter Seam Repair
For a typical aluminum gutter seam, gather the right materials before climbing a ladder. A careful repair goes faster when everything is within reach.
- Exterior-grade gutter sealant or high-quality polyurethane sealant rated for metal
- A caulk gun, putty knife, and stiff nylon brush
- Rags, gloves, and a cleaner suitable for removing dirt and old residue
- Gutter screws or rivets if the joint is loose, plus the correct drill bit or driver
- A stable ladder and a hose for final testing
Avoid ordinary interior caulk and products that become brittle after sun exposure. Silicone can be useful in certain applications, but many gutter professionals prefer a purpose-made gutter sealant or compatible polyurethane product because it adheres well to metal and remains flexible through expansion and contraction. Always confirm the sealant is compatible with the gutter material and any existing coating.
How to Seal Gutter Seams Step by Step
1. Work safely and choose dry conditions
Do not work on a wet roof, icy surface, or unstable ladder. Set the ladder on firm, level ground and avoid leaning it directly on a weak gutter section. For tall homes, steep grades, commercial properties, or areas near power lines, this is a job better handled by a trained maintenance professional.
The gutter needs to be completely dry before sealant is applied. Plan the repair after several dry hours, and allow for the cure time listed on the product label before testing it with water. Temperature matters as well. Cold weather can affect adhesion and curing, which is one reason spring through fall is often the better window for gutter repairs in Utah.
2. Remove debris and failed sealant
Clean the inside of the gutter around the seam. Scoop out debris, then use a brush and rag to remove dirt, oxidation, and loose material. If old sealant is cracked, peeling, or separated from the metal, scrape it away with a putty knife.
This preparation step determines whether the repair holds. New sealant applied over failing material may look finished for a few weeks, then separate when water, ice, and temperature changes put pressure on the joint. The goal is a clean metal surface with a sound seam underneath.
3. Tighten the joint if it has separated
Look closely at how the seam fits together. If an end cap, corner, or connector has pulled away, press it back into position and secure it before sealing. Depending on the gutter design, that may mean adding a small gutter screw or rivet in an appropriate location.
Do not drive fasteners through the bottom of the gutter where they create another potential leak point. Place them where the connector design allows and where they will not interfere with water flow. If the gutter is bent, badly corroded, or no longer holds its shape, replacement of that component is usually more reliable than forcing it back together.
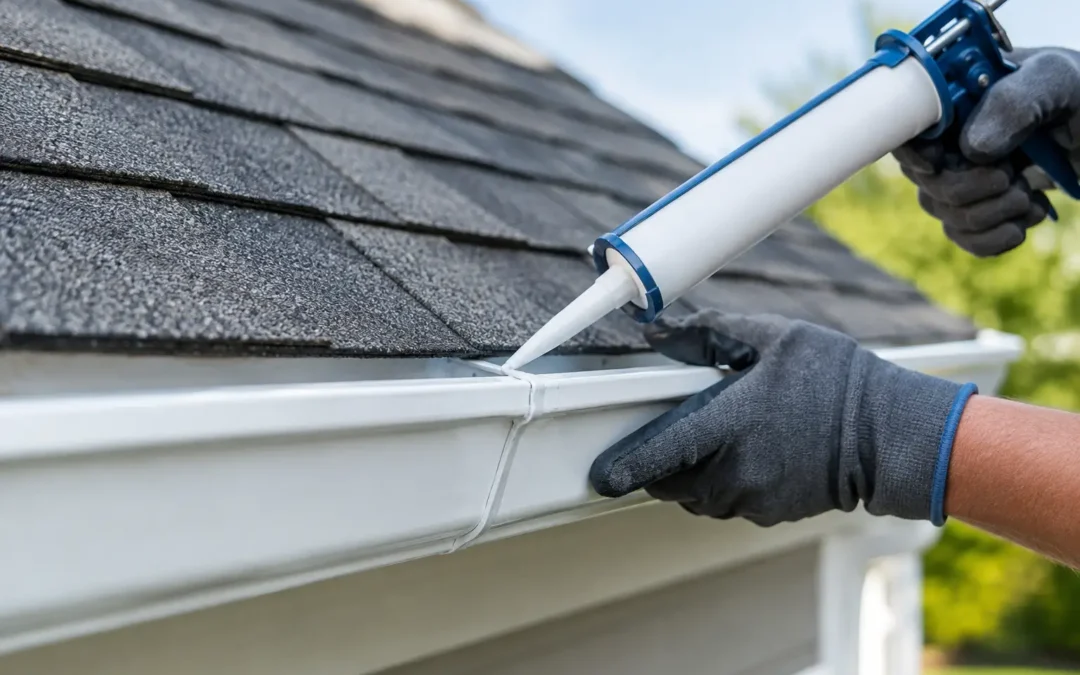
4. Apply a continuous bead of sealant
Cut the nozzle opening to create a manageable bead, then apply sealant along the inside of the seam where water contacts it. Cover the full length of the joint, including the corners and edges where two pieces meet. A continuous, even bead is more dependable than a large blob in the center.
Use a gloved finger or a small putty knife to press the sealant into the joint and smooth it into a slightly rounded finish. This helps eliminate gaps without creating a thick ridge that can trap leaves and debris. Follow the product instructions for bead size, working time, and cleanup.
For a seam that has leaked for some time, inspect the outside of the joint too. An exterior bead can add protection in some cases, but the interior seal is the priority because it stops water at the point of contact. Sealing only the exterior can leave water working behind the repair.
5. Let it cure, then test the repair
Allow the sealant to cure fully before running water through the gutter. Cure times vary by product, humidity, and temperature, so do not rely on a sealant merely feeling dry to the touch.
Once cured, use a hose to test the repaired section. Keep the water flow moderate and watch the seam from below and above if possible. Also confirm that water moves toward the downspout without pooling. If water stands in the gutter, the issue may be gutter pitch, loose hangers, or a sagging section rather than the seam itself.
When Sealing a Gutter Seam Is Not Enough
Sealant is a practical repair for a sound gutter with a failed joint. It is not a cure for every gutter problem. Repeated seam leaks can point to movement in the system, clogged downspouts, inadequate hanger spacing, or water that freezes and expands in the gutter.
Replacement or professional repair may be the better choice when you see widespread corrosion, multiple leaking seams, sagging runs, split metal, damaged fascia, or gutters pulling away from the roofline. The same is true when a seam fails shortly after being sealed. In that situation, adding more sealant often hides the underlying problem instead of correcting it.
Property managers should also consider the pattern of repairs across a building. A single corner leak may be a straightforward maintenance item. Several leaks across multiple runs can signal that the gutter system needs a broader inspection, cleaning, adjustment, or replacement plan.
Prevent Future Gutter Seam Leaks
Clean gutters regularly so water can move freely to the downspouts. Wet leaves and sediment hold moisture against seams, while blockages add weight and force water over areas not designed to handle it. After heavy storms or winter weather, check for loose hangers, pooled water, and downspouts discharging too close to the foundation.
Keep an eye on the roof edge as well. Excessive roof runoff, damaged flashing, or ice buildup can place more stress on gutters than a seam repair can handle. A maintenance visit that includes gutter cleaning, downspout checks, and seam inspection is often less costly than repairing stained siding, fascia rot, or foundation drainage issues later.
If ladder work is not something you want to take on, Wadley Services can help assess gutter leaks and keep exterior maintenance from becoming a recurring concern. A properly cleaned, secured, and sealed gutter system gives water one clear place to go – safely away from your property.
Recent Comments